overland

80 series Drawer system build.

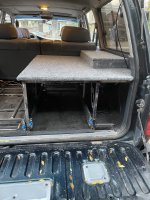
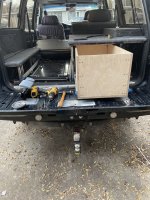
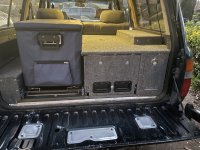
Still working on this. Life has sorta given it‘s two cents on what I’d like to be doing. I should be resuming work on this in a few weeks. I did use the compressors, tank, and one drawer for my yearly deer season trip. I’m fairly happy with the platform‘s performance. The drawer held quite the amount of materials with no rattling. The twin compressors filled my 255/85r16 (33x10ish) tires in about 2.5 minutes a piece. I will be rewiring all my accessories that are not factory wired, creating a proper wire harness, move the platform fuses/block, rear air chuck, and adding another Bussmann power distribution block. First, I’ll have to finish installing all the goodies I’d like on the platform, where I’d like them.
good times.
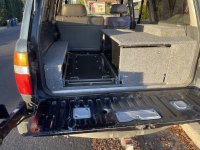
 
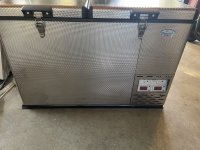
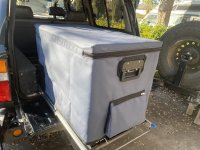
So… life happened, nothing new there, then I got a new fridge. Cool! Well, it came with work, as the fridge doesn’t fit really well with the platform as it stood. Sooo. Break out said grinder. 31128598-1EEC-4AEF-A471-93FC9A554D52.jpeg
 

Attachments

  • 20105BB0-B49B-4B27-A934-82DC13B0EC0D.jpeg
    20105BB0-B49B-4B27-A934-82DC13B0EC0D.jpeg
    4.4 MB · Views: 5
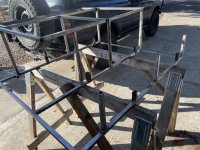
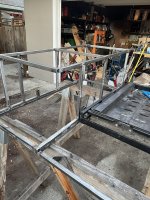
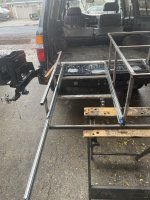
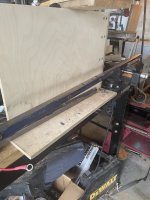
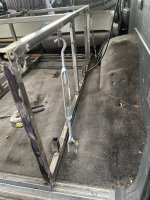
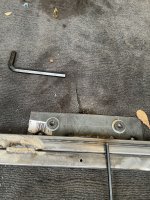
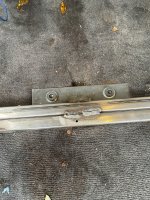
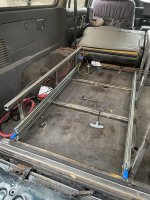
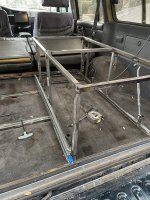
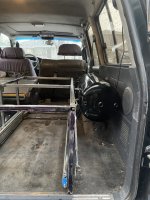
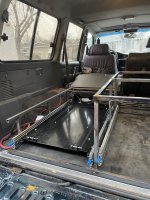
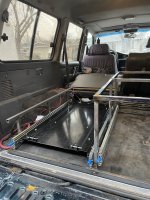
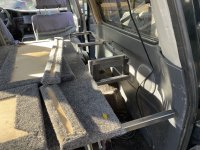
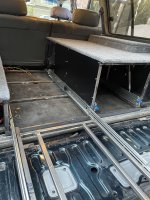
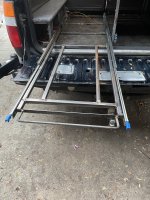
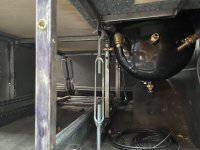
I’m slowly getting there. Between overtime at work and wet weather it’s crawling along. I have the slides in for the National Luna fridge mount plate done, the mounting brackets under said fridge slide and the air tank moved over the passenger wheel well. Got the pump mounting brackets done and even a space for a third viair pump should I feel the need. Still have to do up a spot for the 100AH Lithium service battery. here are some pics! First couple are of me playing with the idea of reusing a slide meant for a smaller ARB 50qt, I decided not to go that route. Then there are a few shots of the 3/4 tube slide mount points that I eventually welded into a sub frame for the National Luna fridge plate. I did a combo of things to bracket down the system, as I originally wanted, and still do, an easy to remove unit. The final two are the semi finished fridge plate slide and air tank mounted up.
3ADF735F-0776-4A64-828F-DE66380715C9.jpeg D46C43E4-5BD3-4F48-A948-41147E87141E.jpeg 45FB9062-193B-475C-9D30-DBA2A163AFCD.jpeg EFB5A0DF-CC75-4A3A-B08B-B0B5F88BEC2A.jpeg 081C236F-4D04-4E48-B91D-52C36EAEFA85.jpeg EB0B7E15-5F2B-412C-88F9-FD9D2EEB61B8.jpeg 5BAE8EF1-659C-407A-A596-753380697558.jpeg A8534C27-E6A4-4FF4-AF97-6E93A8AA4B75.jpeg C9B5BE3D-FF37-4B5F-A534-4A28DDB6CC94.jpeg 689EB486-C39D-4407-ADAF-CFE511526CD5.jpeg DCC854AE-187D-4AB7-8108-B370DC664A8E.jpeg EAC93B09-0702-47C3-ABA1-BE859F172067.jpeg
 
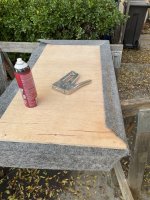
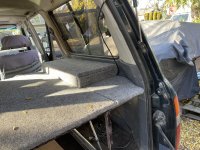
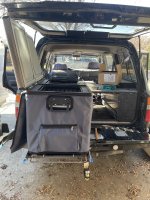
Got some more stuff done. Finished some details. Fridge slide has a handle now, the platform has carpeted tops, and the air tank is mocked in place. I highly recommend 3M Super 77 and forget the Gorilla. The Gorilla stuff doesn’t hold well at all 6D4768C3-8925-4766-B5D0-6764284ECCC8.jpeg 6D4768C3-8925-4766-B5D0-6764284ECCC8.jpeg B04BE4F9-8CAE-427A-8086-196E4FF7DB5B.jpeg 7541C3E5-D87C-4A1E-8F5B-E804E1EB4026.jpeg CDD25EDD-06CE-490E-A450-70965713F143.jpeg 8B64AA03-2396-43F3-AA58-2D2A73E92E05.jpeg A1E6F878-D497-4DEE-93BF-9A57C258DF57.jpeg 49FB46B3-A9A9-4B92-9221-06E9D6FE3E16.jpeg 40D1D519-A97D-4521-96CC-53D31F25BE68.jpeg 2F989057-A7A9-43D5-AC7C-637B33B0FABD.jpeg 6D4768C3-8925-4766-B5D0-6764284ECCC8.jpeg
 
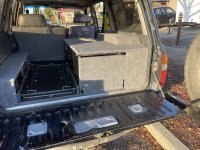
So. Got the fridge in and the panels in place. I have to re make the passenger side front face panel as it will house a fuse panel and a LifepO4 battery. I’ll need to have faster and easier access there in case of issues. I still have to mount the sub woofer in front of the fridge and compressors. 4F1A5B0A-89B6-4584-8C23-A5021695255A.jpeg 2658AD97-6496-45A1-BF86-75FBBD4764CE.jpeg E7E961D2-D6CA-4E24-925F-E126A85C2071.jpeg B62FA033-43EE-43C6-8B86-7C8CE40BA11C.jpeg
 
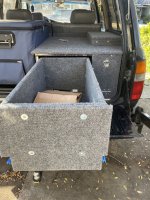
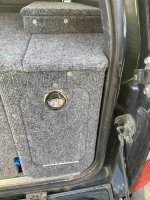
Well... I‘d say I am about 80% done. I have a subwoofer I’m going to mount and a duty battery in the back behind the new hatch on the passenger side. Yeah… that hatch took a day and a half. I’m getting better at this, but cutting, matching, and carpeting a hole, then the thing to fit said hole was a challenge. The latch was a pain as well, but a little cutting, grinding, and more thought made it work. I also re did the drawer face as I wasn’t happy with the gap. I had planned to frame around the drawer, but it would have been a weak point. There is still a gap, but I’m waiting on some hardware that will occupy that spot, but I now have awkward handles. I’ll roll with these as they work. 395849CA-99AB-4C80-840D-FA3FB014BF8C.jpeg C4CD25D9-79C1-4533-89F4-3E5FAAD39F20.jpeg 527BFE19-968C-49D8-80C7-D61C032EE1F0.jpeg 9F4201FE-0803-4649-964E-107FA82C41A1.jpeg C2DD7BC1-9D20-4D9B-945D-D197594D95DD.jpeg
 
Back
Top